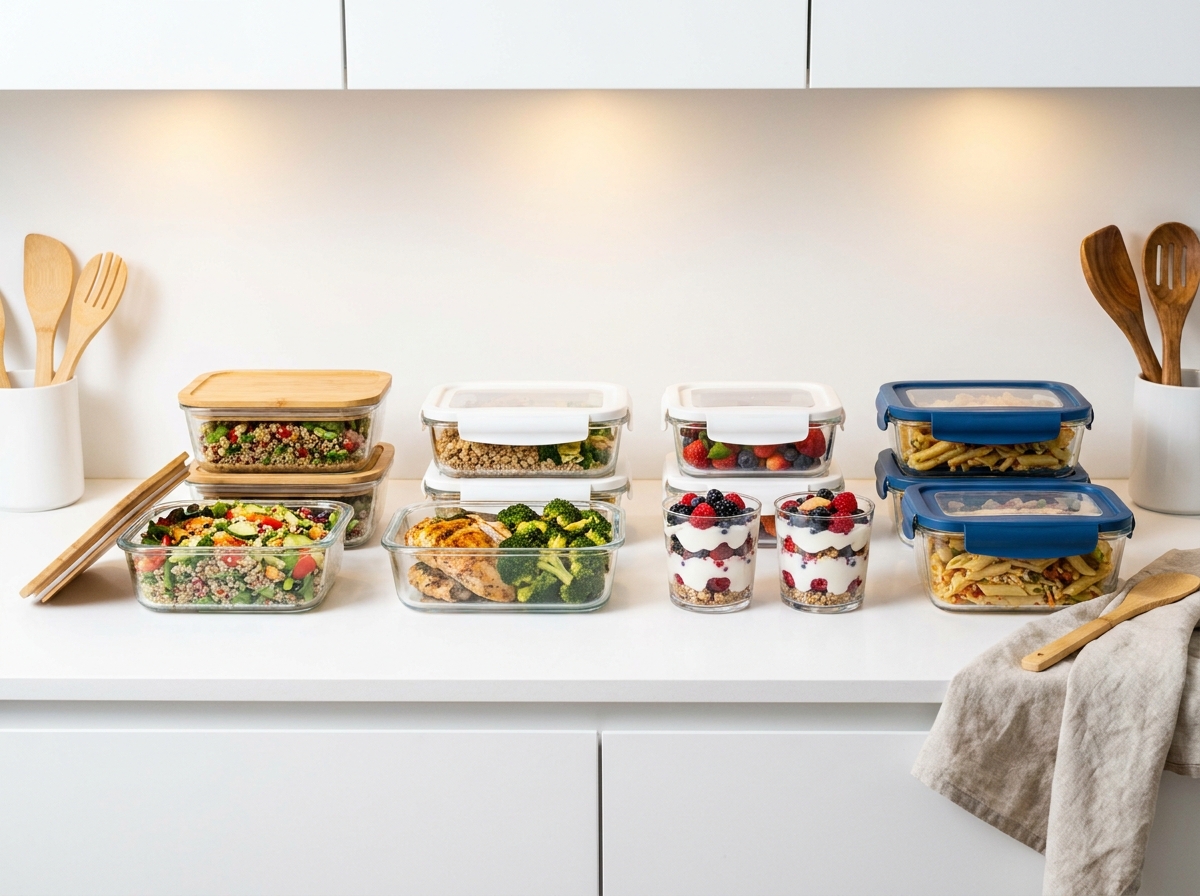
Why Your Containers Matter More Than You Think
The container question sounds trivial compared to what you cook or how you season it. It is not. The wrong container is the reason meal-prepped food goes soggy by day 3, absorbs refrigerator odors, leaks in your bag, stains after one use of tomato sauce, or cracks in the microwave. The right container is why food prepared on Sunday is still genuinely appetizing on Thursday.

This guide does not rank brand names or tell you the "10 best containers on Amazon." Those lists are mostly affiliate-driven and change monthly. Instead, this guide explains the material science, the size logic, the airtight standard, and the specific properties that make a container actually useful for meal prep — so you can evaluate any container you find, regardless of brand or price.
Glass vs Plastic: The Honest Comparison
The glass-versus-plastic debate has a real answer, but it depends on what you are using the container for. Here is the honest comparison across every relevant dimension:
Odor and stain absorption: Glass wins decisively. Glass is non-porous — food compounds cannot penetrate the surface. Plastic is microporous, meaning odors and pigments (turmeric, tomato, garlic) work their way into the material over time, producing persistent smells and staining that no amount of washing removes. A glass container used daily for a year smells like nothing. A plastic container used daily for a year often smells faintly of whatever was in it last week.
Microwave safety: Glass wins. Borosilicate glass is inert at microwave temperatures — it does not leach any compounds into food. BPA-free plastic is safer than older plastics, but microwave heating still causes some plastic compounds to migrate into food, particularly fatty foods. If you reheat meal prep food daily, glass is the safer long-term choice.
Oven use: Glass wins. Tempered glass containers (without the lid) can go directly from the refrigerator to a 400°F oven. No plastic container can do this safely.
Durability: Plastic wins in specific ways. Plastic does not shatter when dropped. For meal prep containers that travel in bags, are carried on public transport, or are used by children, the shatter-resistance of plastic is a genuine advantage. Glass breaks; plastic does not.
Weight: Plastic wins. A glass container is approximately 3–4x heavier than an equivalent plastic container. For 5 containers packed into a bag, this difference is noticeable — particularly relevant for people who walk or cycle to work.
Lid seal longevity: Glass wins. Consumer Reports data confirms that glass containers show virtually no seal degradation after years of daily dishwasher use. Plastic containers lose their airtight seal within months of regular dishwasher use as the plastic warps slightly under heat cycles.
Cost: Plastic wins initially; glass wins long-term. A 10-piece plastic set costs $15–$25. A 10-piece glass set costs $35–$60. But quality glass containers used properly last 5–10 years. Plastic containers typically need replacing every 1–2 years as lids warp and seals fail. Over 5 years, the total cost of ownership often favors glass.
The verdict: For home use — storing and reheating at your desk or kitchen — glass is the better choice in almost every category. For portability, travel, gym bags, and children's lunches — BPA-free plastic or stainless steel is more practical. Most experienced meal preppers end up with both: 6–8 glass containers for home use and 2–3 lightweight plastic or stainless containers for portability.
What "Airtight" Actually Means — and Why Most Containers Are Not
Every meal prep container on the market claims to be "airtight." Most are not. Understanding what true airtight means helps you evaluate containers before you buy them rather than discovering their limitations when soup leaks through your bag.
There are four distinct lid mechanisms, in order from worst to best airtight performance:
1. Press-and-snap (the most common, least airtight): The lid presses down and snaps at two or four points around the perimeter. These containers are fine for solid foods stored upright in the refrigerator. They will leak with any liquid if tilted, and they allow meaningful air exchange that accelerates food spoilage. Most budget plastic sets use this mechanism.
2. Four-tab snap-lock: Four locking tabs fold over the lid edges and snap under the rim. Better than press-and-snap, genuinely prevents most leaks for thick liquids like soups when the container is kept upright. Still allows some air exchange through the lid itself. A significant step up from basic snap lids.
3. Silicone gasket with snap-lock: A silicone ring seats in a groove around the lid interior, creating a compression seal when the tabs lock. This is true airtight performance — prevents both liquid leakage and air exchange effectively. Glass containers with silicone gaskets and four-tab snap-locks are the highest-quality container design for meal prep. Pyrex, OXO, and similar brands use this mechanism on their premium lines.
4. Vacuum seal: An active vacuum mechanism removes air from the container before sealing. Genuinely extends food shelf life beyond standard airtight containers. More expensive ($60–$120 for a set), more complex to use, and overkill for standard 3–5 day meal prep. Worth considering only if you are prepping for the full 5-day window consistently and quality degradation between day 3 and day 5 is noticeable.
Which Sizes Do You Actually Need?
Container size is the most practically important decision, and most beginners buy the wrong sizes. Here is what different meal types actually need:
1-cup / 240ml: Sauces, dressings, dips, snacks. Too small for any main meal. Useful to have 2–3 of this size for condiments that travel with your lunch containers.
2-cup / 480ml: A generous portion of soup, a single serving of overnight oats (though wide-mouth mason jars are better for this), a snack serving of cottage cheese with fruit. This size works for side dishes but is too small for most main meal portions unless you eat light.
3-cup / 720ml: The most useful size for individual lunch portions. A grain bowl, pasta serving, rice and chicken combination, or large salad base fits in a 3-cup container with room for dressing. If you buy only one size, this is the one. Plan for 5–7 containers of this size for a week of lunches.
4-cup / 960ml: Generous individual meal portion or a two-serving container for dinner components. Large salads with toppings, substantial grain bowls, full portions of pasta. Useful for people with higher caloric needs or for storing dinner proteins that will be used across multiple meals.
6-cup / 1.4L: Batch storage — not individual portions. Store a large batch of cooked rice, a pot of soup, or a full batch of cooked ground meat in this size. You portion out from it throughout the week rather than eating directly from the container.
The starter kit for one person: 5–6 containers at 3-cup size (individual lunch/dinner portions), 2 containers at 6-cup size (batch grain and protein storage), 2–3 mason jars at 16oz (overnight oats and dressings). Total investment: $40–$70 for quality glass.
The starter kit for a family of four: 8–10 containers at 3–4 cup size for individual portions, 3–4 containers at 6-cup size for batch storage, 2–3 large rectangular containers at 8–10 cup size for family-size portions of rice and roasted vegetables.
Divided Containers — Are They Worth It?
Divided containers (bento-style, with 2–3 separate compartments) solve a specific problem: keeping foods that should not touch each other separated during storage. A grain that would go soggy if stored next to a wet sauce, a salad that would wilt against warm protein, a crispy element that cannot be reheated with the main dish.
They are worth buying for: lunch boxes where variety in a single container matters, people with dietary tracking goals who want portions pre-separated, and anyone who brings food to a workplace where reheating in multiple containers is inconvenient.
They are not worth buying as your primary container if you eat most meals at home, if you are comfortable using separate small containers for sauces and dressings, or if you batch-cook components rather than assembling complete meals. Divided containers are also harder to clean thoroughly — the divider edges collect food.
Mason Jars for Meal Prep
Wide-mouth Mason jars deserve a dedicated section because they are genuinely the best container for several specific meal prep applications, and they cost $1–$2 each — significantly less than any purpose-built meal prep container.
Mason jars are perfect for: overnight oats (the glass does not absorb dairy odors, the wide mouth makes assembly and eating easy, the size is exactly right), salad-in-a-jar (layered with dressing at the bottom, greens at the top, shaken when ready to eat), soups and stews (wide-mouth jars are freezer-safe when you leave headspace for expansion), and dressings and sauces (easy to shake and pour).
Mason jars are not ideal for: hot food that will be reheated in the microwave (remove the metal lid first — metal is not microwave-safe), any food that needs to be flat rather than cylindrical, or any situation where spill prevention is critical (jars seal via a two-part lid that is airtight for refrigerator storage but not leakproof when tipped).
How to Make Containers Last Longer
The most common reason containers fail prematurely is improper care, not poor quality. These habits extend container life significantly:
Never put hot food directly into a sealed cold container. The steam created when sealing hot food inside a cold container warps plastic lids and can crack glass with thermal shock. Let food cool to room temperature first — spread it on a sheet pan for 20–30 minutes.
Hand-wash lids; machine-wash bases. Dishwasher heat cycles warp plastic lids over time, causing airtight seals to fail. Wash plastic and silicone lids by hand with warm soapy water. Glass bases are dishwasher-safe on the top rack.
Store with lids loosely placed, not sealed. Storing containers in the cupboard with lids snapped shut traps any residual moisture or odor. Store lids next to containers rather than on them, or slightly ajar.
Replace silicone gaskets, not the whole container. Most quality glass containers have replaceable silicone gaskets — the seal can be replaced for $2–$5 rather than replacing the entire container when the seal fails.
Designate containers for odor-prone foods. Even glass can absorb strong odors after repeated use with garlic-heavy dishes, fish, or heavily spiced curries. Use specific containers for these foods and they will not contaminate other contents.
The Budget Breakdown: What to Spend at Each Level
Under $25 — plastic starter set: Gets you into meal prep without committing significant money. Expect lids to warp within 6–12 months of dishwasher use. Accept odor absorption as a limitation. Fine for building the habit before investing in better equipment.
$35–$60 — glass set with silicone gaskets: The sweet spot for most meal preppers. Quality glass lasts years, maintains airtight seal through hundreds of dishwasher cycles, does not absorb odors. This investment pays for itself in one or two months compared to the food waste prevented by proper sealing.
$60–$100 — premium glass or stainless steel: For people who meal prep 5 days per week consistently and want the best possible food quality at day 4–5. Borosilicate glass handles oven-to-fridge transitions. Stainless steel is the most durable material for portability. Worth it for committed meal preppers; overkill for beginners.
 Glass Meal Prep Containers 2 Compartments,Glass Food Storage Containers with Lids,Airtight Lunch Be" class="mpw-pb-img" loading="lazy">
Frequently Asked Questions
Q: Can I use any plastic container for meal prep, or does it have to be BPA-free?
Use only containers labeled BPA-free (bisphenol A-free). BPA is an endocrine-disrupting chemical found in older hard plastics that leaches into food, particularly when heated. All reputable modern plastic food containers are BPA-free by default, but verify the labeling on anything purchased secondhand or from an unfamiliar brand.
Q: Are glass containers safe in the freezer?
Tempered glass is freezer-safe with one critical caveat: always leave at least one inch of headspace between the food and the lid. Liquids expand when frozen; a container filled to the brim will crack as the contents expand. Wide-mouth mason jars with straight sides (not tapered) are the most reliable freezer-safe glass container.
Q: How do I remove smell from plastic containers?
Fill the container with a mixture of white vinegar and water (1:3 ratio), seal, and let sit for 24 hours. Alternatively, pack with crumpled newspaper and seal overnight — newspaper absorbs odors effectively. For severe cases, place the cleaned container in direct sunlight for a day — UV light breaks down odor-causing compounds. If the smell persists after multiple treatments, the plastic has absorbed the odor compounds too deeply and the container should be replaced.
Q: How many containers do I need to get started?
For one person: a minimum of 5 containers (one per day of lunches or dinners) plus 2 larger batch containers. For two people: 8–10 individual containers. For a family of four: 12–16 individual containers plus 4–6 batch containers. Starting with fewer is better than buying an expensive set before you know your actual usage pattern.