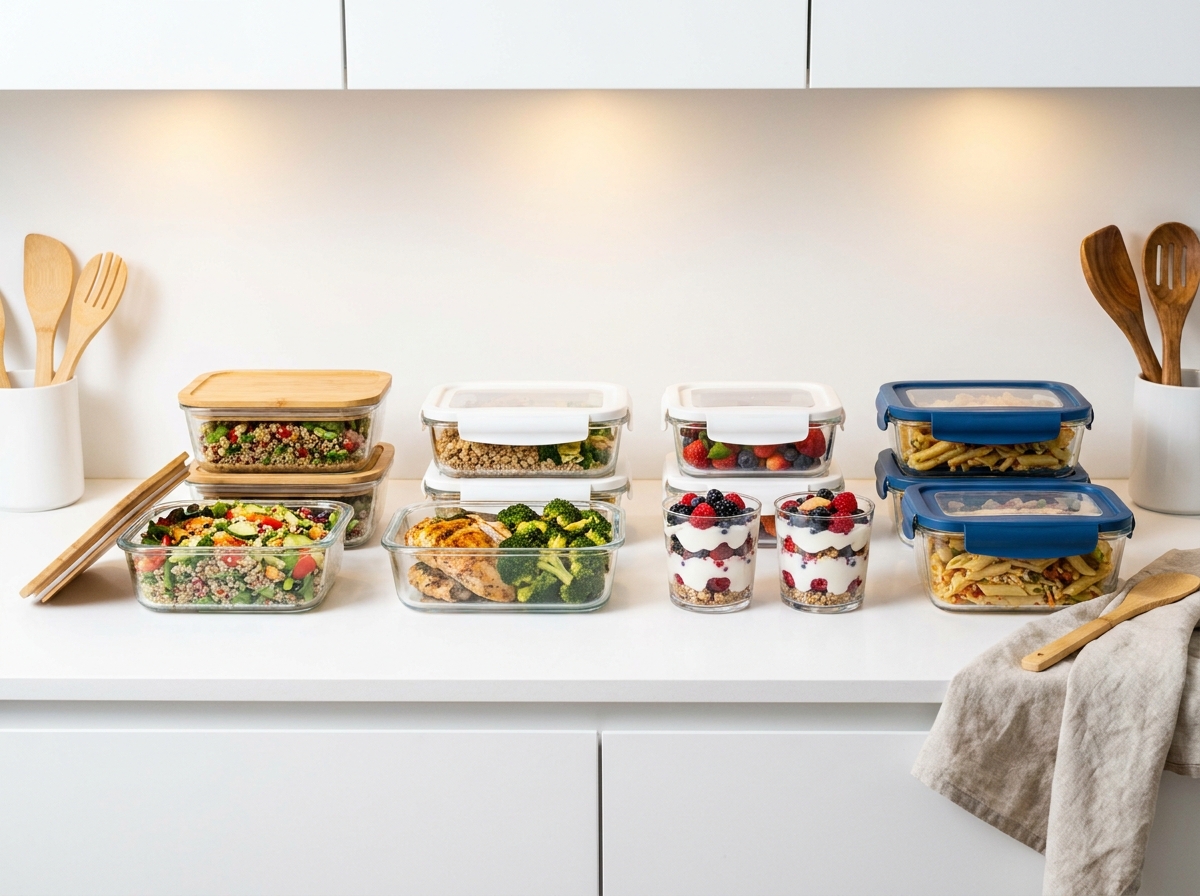
What Is Meal Prep and Why Does It Matter in 2026?
Meal prep is the practice of preparing food in advance — usually on a Sunday or Saturday — so that meals throughout the week require little or no cooking. It is not a diet, a trend, or a lifestyle brand. It is a practical system for removing daily cooking stress, eating more consistently, spending less money on food, and eliminating the question of what to eat on a Tuesday night when you are tired and hungry.
 Meal Prep Containers Reusable with Lids, Sturdy Leakproof & Food Safe, Microwave, Free" class="mpw-pb-img" loading="lazy">
In 2026, the case for meal prep is stronger than ever. The average American adult makes over 200 food-related decisions per day. Grocery prices have increased by roughly 21% since 2020. The average delivery meal costs $18–$25. Working from home has blurred the line between kitchen and workspace, and many people report that food decisions are a leading source of daily decision fatigue. Meal prep solves all of these problems simultaneously with one 2–3 hour investment per week.
This guide is written specifically for people who have never meal prepped before or who have tried and struggled to maintain the habit. It covers what to actually cook, how long it takes, what equipment you need, and — most importantly — how to make the habit stick beyond the first enthusiastic week.
The Three Styles of Meal Prep — Pick One to Start
The biggest mistake beginners make is trying to do everything at once: prep every meal, every day, for an entire week, using complicated new recipes. This approach fails reliably. The sustainable approach is starting with one style and one time period.
Style 1: Component prep (recommended for beginners). Cook individual food components — a protein, a grain, and some vegetables — and combine them into different meals throughout the week. This is the most flexible approach and produces the most variety. You are not committing to identical containers five days in a row; you are building a collection of building blocks.
Style 2: Full meal prep. Cook and portion complete meals — chicken and rice, pasta, soups, stews — into individual containers. Best for people who want absolute simplicity: open container, reheat, eat. Less flexible than component prep but requires less creativity during the week.
Style 3: Ingredient prep only. Wash, chop, and organize raw ingredients without cooking them. This cuts weeknight cooking time without eliminating it. Best for people who like cooking but hate the prep work — the chopping, the washing, the measuring.
For most beginners, component prep for 3 days — not 5 — is the right starting point. Three days of prep is achievable, produces visible results without overwhelming commitment, and builds confidence before scaling up.
What Equipment Do You Actually Need?
Meal prep does not require special equipment. The internet is full of $200 container sets, vacuum sealers, and gadgets that make meal prep look intimidating and expensive. Here is the actual minimum viable equipment list for your first session:
Containers (essential): You need 6–8 containers with lids that seal airtight. Glass containers with snap-lock lids are the best long-term investment — they do not absorb odors, they are microwave-safe, and they last years. A 10-piece glass container set costs $25–$40. If budget is a constraint, good-quality plastic containers with secure lids work perfectly. Mason jars (wide-mouth, 16oz) cost $1–$2 each and work excellently for overnight oats, salads, and soups.
Sheet pans (essential): Two standard half-sheet pans ($10–$15 each) allow you to roast two trays of protein or vegetables simultaneously. This is the single most useful piece of equipment for meal prep.
Sharp knife and cutting board (essential): Every other tool is optional. A sharp chef's knife and a large cutting board make all prep work faster, safer, and less frustrating. A $25–$40 chef's knife from any kitchenware store is sufficient for meal prep purposes.
Large pot or Dutch oven (useful): For cooking grains, soups, and stews in bulk. Any large pot with a lid works.
Digital kitchen scale (optional but helpful): If you are tracking macros or portion sizes, a kitchen scale costs $10–$15 and removes all guesswork.
That is the entire list. Do not buy anything else before your first session.
Your First Meal Prep Session: Step by Step
Plan to spend approximately 2 hours on your first session. This will feel slow. By week 3 or 4 of the same routine, the same session will take 75–90 minutes. The slowness is normal — you are learning, not failing.
Before you start: the 15-minute plan. Sit down with your phone or a piece of paper and decide three things: What protein will you cook? What grain or starch? What vegetable? Do not make this complicated. Chicken thighs + brown rice + broccoli covers an entire week of component prep and requires zero culinary creativity. This is not a competition. This is a system.
Step 1 — Mise en place (15 minutes). Set everything out before you start cooking. Preheat the oven to 425°F. Get out all your containers, sheet pans, and cooking tools. Wash and chop all vegetables before putting anything on heat. Having everything ready before cooking begins eliminates the frantic "where is the olive oil" mid-session chaos that slows most beginners down.
Step 2 — Start the longest item first. Brown rice takes 45 minutes. Put it on the stove first so it cooks while you do everything else. If you are making overnight oats or a soup, start those before the proteins or vegetables.
Step 3 — Season and start proteins. Season your protein simply — olive oil, salt, pepper, garlic powder. For chicken thighs: 425°F for 35–40 minutes, no touching. They will be done when an instant-read thermometer reads 175°F. Put them in the oven. While they cook, do everything else.
Step 4 — Prep and roast vegetables. While protein is in the oven and grains are on the stove, toss your vegetables in olive oil and salt, spread them on a sheet pan in a single layer (crowding causes steaming, not roasting), and put them in the oven. Broccoli, bell peppers, and zucchini all roast in 20–22 minutes at 425°F.
Step 5 — Let everything cool completely. This step is skipped by almost every beginner and is responsible for most food quality problems. Hot food in a sealed container creates steam, which turns into moisture, which makes food go soggy and encourages bacterial growth. Spread cooked rice on a baking sheet. Remove chicken to a cutting board. Spread roasted vegetables on a rack. Everything should reach room temperature — roughly 20–30 minutes — before going into containers.
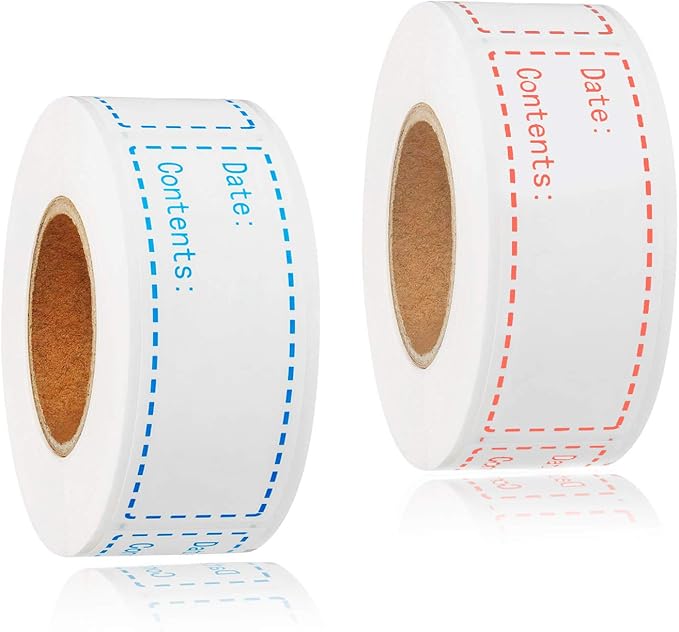
Step 6 — Portion and refrigerate. Divide everything into containers, label with the date, and refrigerate. The portioning step is where component prep truly pays off: you can put grain in one set of containers, protein in another, and vegetables in a third, allowing maximum flexibility for different meals during the week.
The Beginner Meal Prep Template: Simple, Flexible, Reliable
Use this template for your first three weeks. It requires no recipe, no culinary skill, and produces 3–5 days of meals from one 2-hour session.
The formula: 1 protein + 1 grain + 1–2 vegetables + 1 sauce
Week 1: Chicken thighs + white rice + broccoli + soy-ginger sauce (soy sauce, fresh ginger, sesame oil, honey — 5 minutes to mix)
Week 2: Ground turkey + quinoa + roasted bell peppers + tahini dressing (tahini, lemon juice, garlic, water)
Week 3: Baked salmon + brown rice + roasted asparagus + teriyaki glaze
Each week uses the same template but different ingredients. By week 3, you have learned 3 proteins, 3 grains, 3 vegetables, and 3 sauces — a foundation that produces dozens of different meal combinations going forward.
What to Prep for Breakfast
Breakfast is the easiest meal prep win and requires the least cooking. The most reliable beginner breakfast prep options:
Overnight oats (10 minutes, 5 servings): Combine ½ cup rolled oats, ½ cup milk, ¼ cup Greek yogurt, 1 tablespoon chia seeds, and any flavorings in a jar. Refrigerate overnight. Ready to grab in the morning with zero cooking. Lasts 5 days. Costs approximately $1.20–$1.80 per jar.
Baked egg muffins (20 minutes, 12 muffins): Whisk 8 eggs with salt, pepper, and any combination of diced vegetables, cheese, or cooked meat. Pour into a greased muffin tin and bake at 375°F for 18–20 minutes. Each muffin provides 8–10 grams of protein. Two muffins per morning covers breakfast for 6 days.
Greek yogurt parfait (5 minutes, 5 servings): Layer Greek yogurt, granola, and frozen berries in jars. The berries thaw overnight and create a natural sauce. Store the granola separately and add at serving time to maintain crunch. Each jar provides 15–18 grams of protein.
Food Safety and Storage — The Basics Every Beginner Must Know
Food safety is the non-negotiable foundation of safe meal prep. Getting this wrong does not just waste food — it causes illness.
The 40°F rule: Keep your refrigerator at or below 40°F (4°C). Food held above this temperature for extended periods allows bacterial growth. Most refrigerators have a digital display — if yours does not, a $6 refrigerator thermometer eliminates guesswork.
The 2-hour rule: Cooked food should not sit at room temperature for more than 2 hours before refrigerating. At room temperature, the bacteria that cause food poisoning double approximately every 20 minutes.
Safe storage windows for beginners to memorize:
- Cooked chicken, turkey, ground meat: 4 days refrigerated
- Cooked fish and seafood: 3 days refrigerated
- Cooked grains (rice, quinoa, pasta): 5 days refrigerated
- Cooked legumes (lentils, beans): 5 days refrigerated
- Hard-boiled eggs: 5 days refrigerated
- Overnight oats (basic): 5 days refrigerated
- Roasted vegetables: 4–5 days refrigerated
Reheating safely: Reheat food to at least 165°F before eating. Microwave reheating often heats unevenly — stir partway through and check the center temperature if reheating a large portion. Add a splash of water to grains before microwaving to restore moisture.
How to Make the Habit Stick Beyond Week 1
Most people who try meal prep succeed in the first week and abandon it by week 3 or 4. The reasons are predictable and preventable.
Keep it simpler than you think you should. The first session should feel almost boring — the same protein, the same grain, the same vegetable. Complexity is the enemy of consistency. Instagram meal prep looks impressive because it is designed to look impressive. Your meal prep is designed to actually happen every week.
Prep on the same day at the same time. Habit formation research consistently shows that linking a new habit to a fixed time and location dramatically improves consistency. "I meal prep on Sunday at 3pm" is a habit. "I meal prep sometime over the weekend when I feel like it" is a hope.
Set up for the next session during the current one. While your food is cooling, write down what you are going to prep next week. This eliminates the planning barrier that prevents many people from starting their second session.
Do not abandon the whole system because of one missed week. Life will cause you to miss a Sunday. This is not failure. The solution is not to compensate with an extra-ambitious session the following week — it is to do your normal session and continue.
Accept that week 1 food will be imperfect. Your chicken might be slightly overcooked. Your rice might be slightly undercooked. Your containers might be the wrong size. All of this is normal and all of it improves rapidly. The only first-session mistake that has lasting consequences is deciding not to do a second session.
Frequently Asked Questions from Beginners
Q: How long does meal prep take per week?
A well-established beginner session takes 90–120 minutes for 3–5 days of component prep. Full meal prep (pre-portioned complete meals) takes slightly longer, 2–2.5 hours. This time investment typically saves 4–6 hours of weekday cooking time.
Q: Is meal prep worth it if I only live alone?
Absolutely — in fact, meal prep is arguably most valuable for single-person households. Cooking for one from scratch every day is both time-consuming and wasteful. Meal prep produces exactly the right quantity of food with minimal waste, and the cost savings are proportionally the same as for larger households.
Q: What if I get bored eating the same food all week?
Component prep is the solution. When you prep components rather than complete meals, you can assemble a rice bowl on Monday, a wrap on Tuesday, a soup on Wednesday, and a salad on Thursday — all from the same prepped ingredients. The variety comes from how you combine the components, not from cooking different things every day.
Q: How much does meal prep cost per week?
A full week of lunches and dinners for one person from a basic meal prep session typically costs $35–$55 in ingredients. This represents a saving of $150–$250 compared to equivalent meals purchased from restaurants or delivery apps, and $50–$100 compared to casual takeout.
Q: What if I do not have time on Sunday?
Any day works as a prep day. The key is choosing a consistent day that follows your grocery shopping trip. Many people who cannot prep on Sunday do a smaller session on Wednesday evening to cover the second half of the week. Others split prep across two shorter sessions rather than one longer one.